安装车头雷达 日产逍客更换作业介绍
来源:其他
2015/4/2 17:57:23
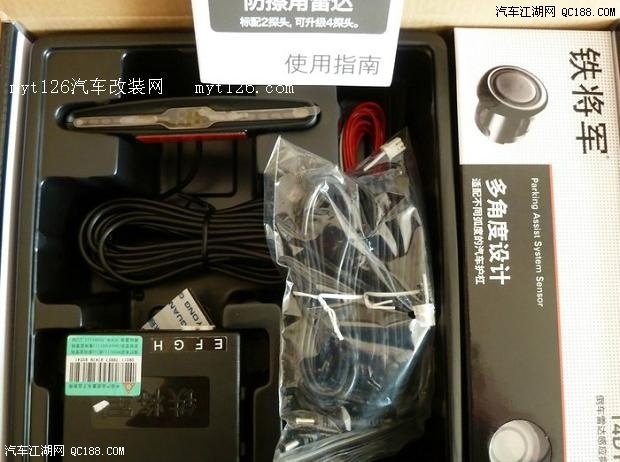
打开雷达包转盒:铁将军(主探板、主线及两个白色雷达探头)
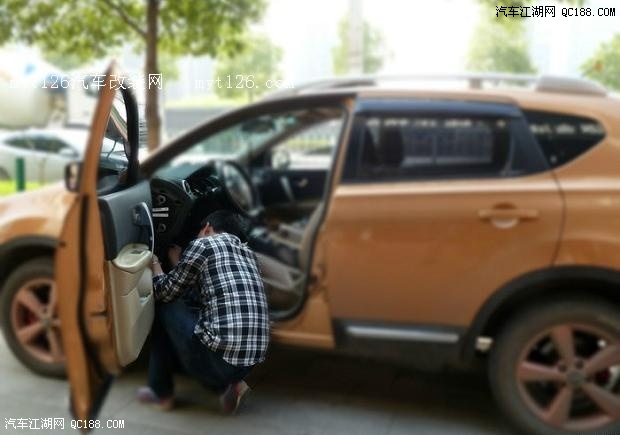
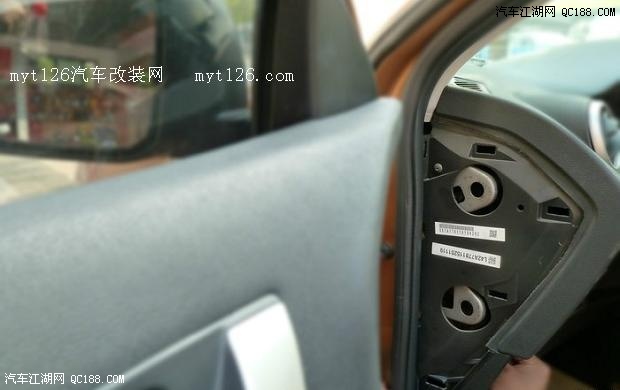
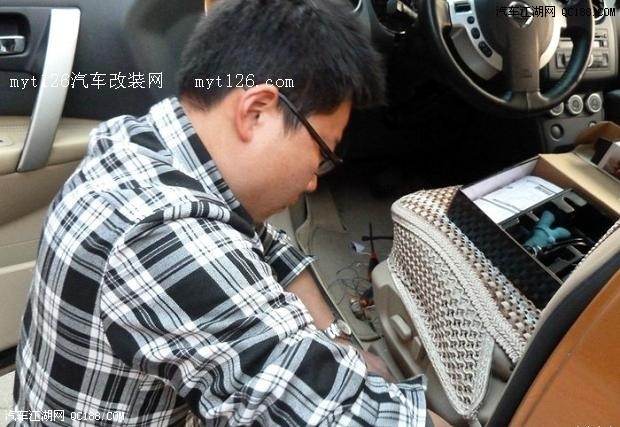
师傅首先拆开主驾驶室左侧面板:
将线连接至主控机上:


因雷达探头颜色(白色)与车身颜色不搭,
师傅已将探头漆重新做上与车相符的金色:

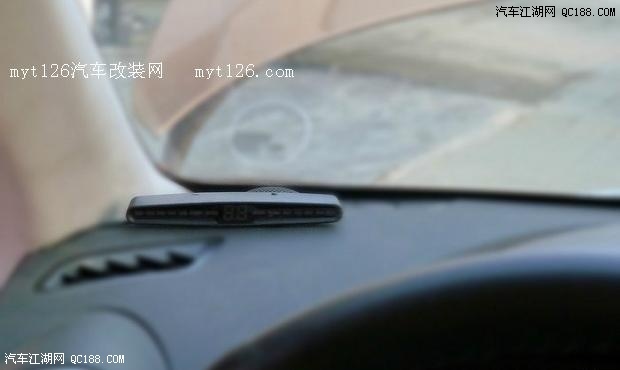
安装后的效果:

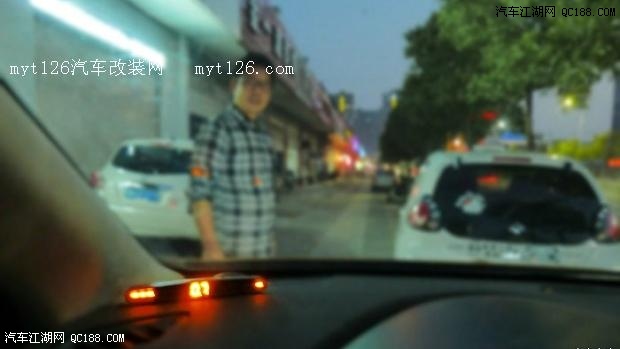
驾驶台雷达主控仪:正常待机状态
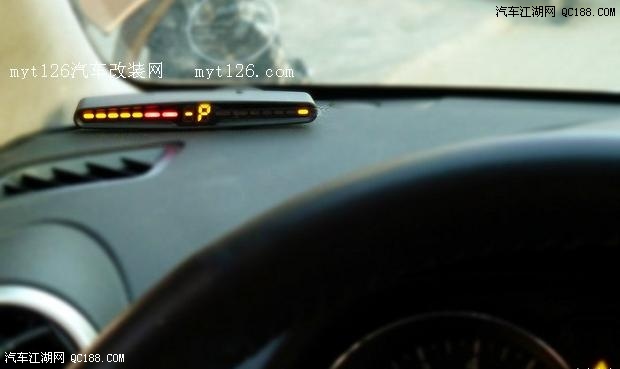
当左前方有障碍物时,左边探头有显示,并发出滴滴滴响声:
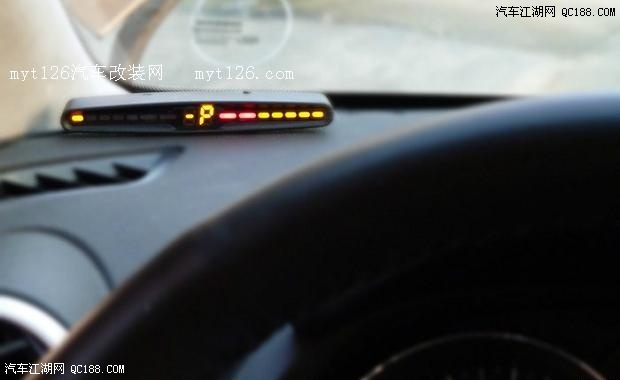
右边测试效果同上:
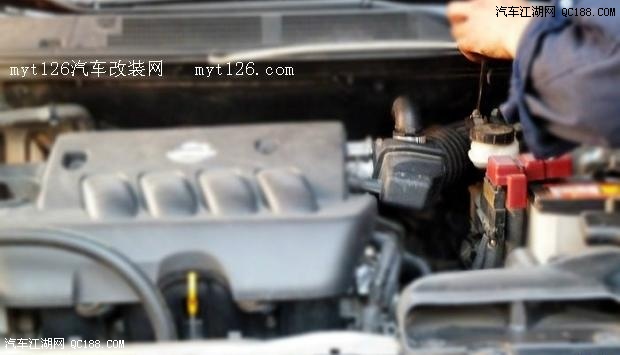
安装完主机经过调试正常后,再将空气格重新安放原处,上紧螺丝:
最后将驾驶室内,走线地方的饰板还原并上紧螺丝:

整个安装过程只用了一个多小时!
试试,雷达反应很灵敏,效果非常好: